
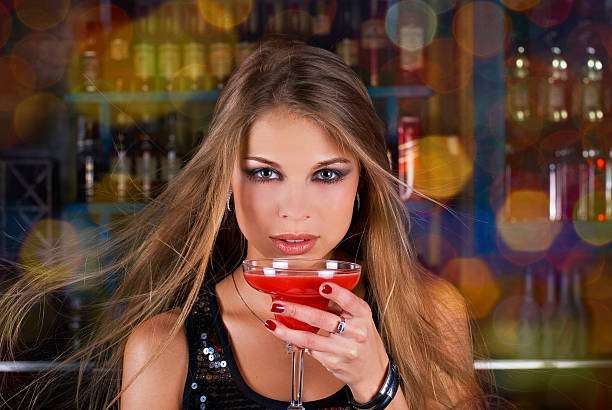
On social media platforms, visually appealing cocktails tend to garner more likes and shares than regular drinks. A cocktail shaker is more than just a tool; it’s a secret weapon for creating photogenic drinks. By mastering shaking techniques, temperature control, garnishing, and plating skills, even ordinary homemade cocktails can instantly become social media sensations.
This article will systematically explain how to use a cocktail shaker to make festive specials, party drinks, and refreshing summer cocktails so that your cocktails can win over your friends and fans both visually and in terms of taste.
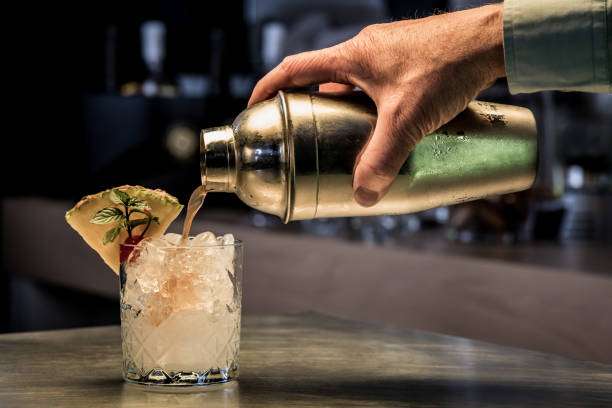
Cocktail Shaker: More than just a cocktail tool, it’s a visual weapon.
In creating photogenic drinks, the cocktail shaker primarily plays the following role:
Improving taste and texture:
Shaking allows ingredients such as liquor, juice, egg white, and cream to fully blend, creating a rich foam and a smooth texture, making the finished product look layered.
Rapid cooling ensures the ice remains crisp and refreshing.
The cocktail shaker allows drinks to reach the optimal drinking temperature quickly without melting the ice too fast, ensuring the drink looks crisp and refreshing on camera.
Visual appeal
includes the bubbles created when the liquid is shaken, the slightly frosted glass, and the layered texture of the liquid—all elements that enhance the photogenic quality of a beverage.
4 core elements of a photogenic cocktail
1. Color Contrast
Layered drinks: By utilizing differences in specific gravity, different colored beverages are layered, such as blue and orange or red and white, which look great in photos.
Brightly colored fruit juices: Fruit juices with vibrant colors, such as berries, pomegranates, and citrus fruits, can increase the saturation of the image.
Garnish colors: mint leaves, berries, citrus slices, or spice sticks to enhance visual depth.
2. Foam and texture
Use egg whites or cream-based ingredients and shake thoroughly with a cocktail shaker to create a rich foam.
The foam not only makes the drink smooth but also gives it a “refined and high-end” look, making it perfect for social media close-ups.
3. Ice cube and glass body effects
Larger or spherical ice blocks create a more three-dimensional effect.
Metal or glass shakers will create a frosting effect when shaken, which can be used as a photo prop to add a professional touch.
4. Plating and Props
Choose glasses that coordinate with the style of your drink, such as stemmed glasses, martini glasses, or classic vintage glasses.
Add props such as napkins, festive items, or fruit slices to enhance the storytelling of the scene.
Keep the background clean and have a unified color scheme for the photo shoot so that the beverage becomes the visual focus.
Cocktail Shaker Photography Tips and Tricks
1. Layered beverage photography
Principle: Wines of different densities naturally separate into layers.
step:
Pour the heavier liquid first, such as syrup or liqueur.
Slowly pour the liquid using the back of a spoon.
Finally, take a picture of the static liquid at the bottom of the cup before shaking it, and then gently shake the top to create foam.
Effect: Distinct layers, strong color contrast, and high impact in photos.
2. Detailed shooting of foam
When shaking drinks containing egg whites or cream, shake vigorously first.
Capture the micro-textures at the top of the foam; close-up shots can magnify the dense foam texture.
It is recommended to use natural light or soft lighting to highlight the reflections of foam and liquid.
3. Shooting with an ice cube texture
Larger or spherical ice blocks have a more three-dimensional feel.
Keep the ice clear during shooting; you can freeze the cups in advance to increase the “frost effect.”
The frosting effect on the outer surface of the shaker adds a professional touch and can be cleverly utilized during shooting.
4. Wine shaking motion capture
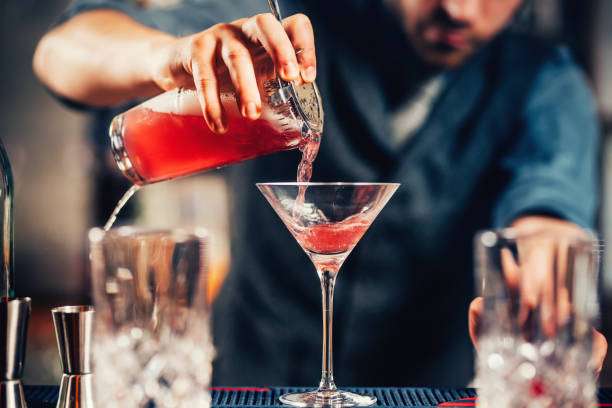
When shooting shaking motions, you can tilt the shaker slightly to create a sense of movement by splashing liquid and foam.
Use burst mode to capture the moment of “liquid splashing or bubble bursting” to increase the sense of dynamic images.
3 Photo-Friendly Cocktail Shaker Creative Drinks Recommendations
1. Summer Tropical Layered Cocktail
Ingredients: Passion fruit juice, coconut milk, rum, ice cubes
Photo Highlights: The yellow and white layers, with foam forming on top when gently shaken, create a bright and refreshing look, perfect for summer parties.
2. Berry Vanilla Party Drink
Ingredients: Raspberry puree, vodka, egg white, ice cubes
Photo Highlights: The red fruit puree base and white foam top create a strong color contrast, perfect for party tabletop photography.
3. Caramel coffee flavored drink
Ingredients: Espresso, vanilla vodka, caramel syrup, fresh milk, ice cubes
Photo highlights: Creamy foam and caramel lines, warm texture, suitable for coffee-themed parties or autumn/winter scenes.
Social media photography tips
Use natural light: Soft light near a window is best for shooting cocktails, avoiding direct light reflections.
Keep the background clean: a tidy desktop allows the drink to take center stage.
Angle selection: A top-down shot can show the layers, while a side shot can show the layers of foam and ice.
Props and themes: Holiday trinkets, napkins, or cocktail shakers can all add to the storytelling of the scene.
Use filters appropriately: maintain true colors so that the beverage colors are bright and natural.
Summarize
Mastering cocktail shaker skills not only ensures perfect taste but also makes it easy to take social media-worthy photos.
With a cocktail shaker, your cocktails will not only taste better but also look better, effortlessly becoming the focus of social media attention.
Want your cocktails to be eye-catching at parties and on social media? Choose a professional cocktail shaker now and create a visual and gustatory masterpiece with every drink.