

You might own a set of impressive bartending cocktail shaker tools, know how to measure precisely, and have a good grasp of the shaking rhythm. But why do your homemade cocktails always taste a little bit off from the ones in the bar—not cold enough and a bit watery?
The problem might be that you’ve overlooked the “golden rule” of bartending: chill thoroughly, but don’t over-dilute.
When you drop room-temperature spirits and ice into a room-temperature cocktail shaker, the metal (or glass) body of the shaker instantly steals a lot of energy from the ice, melting the precious ice and unnecessarily diluting the drink.
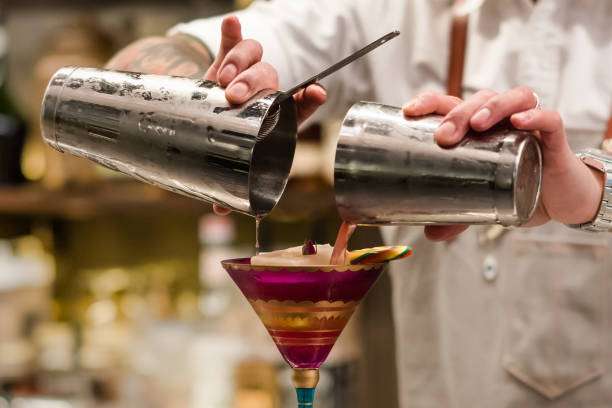
Your cocktail shaker is a heat absorber.
We all know that metals conduct heat quickly, which makes stainless steel cocktail shakers the preferred choice for cocktails. But this characteristic also means that they absorb ambient heat at an equally impressive rate.
The thermal black hole effect of room temperature metal: When your cocktail shaker is resting quietly on the bar, its temperature is the same as your room temperature, around 20°C. When you pour in ice, the ice must first expend a lot of energy to neutralize the heat absorbed by the metal glass.
Ice waste: Valuable, slow-melting large blocks of ice are wasted on cooling the cup.
Inefficient: Shaking is extremely inefficient at cooling the wine before it reaches freezing point. You have to shake it for much longer, which leads to excessive dilution and a weaker flavor.
The purpose of pre-cooling is to ensure that the cocktail shaker reaches or is close to freezing point before the liquid and ice are added so that all the cooling energy can be applied to your drink efficiently.
3 Tips to Speed Up Cooling
Whether you’re using a professional Boston shaker or a home-style three-section Kobler shaker, mastering any of the following techniques will instantly elevate your bartending skills to the next level.
The standard water bath chilling method is suitable for any professional bartending setting that requires precise control of dilution.
Take your cocktail shaker (including metal and glass containers) and fill it about two-thirds full with fresh ice. Pour in a small amount of cold water. Swirl quickly: Pick up the glass and swirl it rapidly for a few seconds. Water is an excellent conductor of heat, ensuring the ice is in full contact with the glass walls for rapid cooling.
Pour it out completely: Important! Before adding any ingredient to your drink, pour out all the ice and water.
Result: A thin layer of condensation should have formed on the outside of your cocktail shaker. The shaker has reached freezing point, ready for the next stage of shaking.
The rapid ice trough pressing method is the preferred technique when you need to prepare multiple cocktails in a short period of time, prioritizing speed in cooling down the drinks.
Pick up an empty cocktail shaker (metal cup). Press it directly into the bottom of your ice trough filled with ice, or roll it quickly in the ice. Quickly fill with a small amount of ice, shake for 1 second, then pour out, ensuring the cup cools down instantly. Immediately add your toppings and start shaking.
Principle: Maximizing the use of the low-temperature environment of the ice pile to quickly transfer heat is the most efficient way to chill a cocktail shaker.
The long-term “refrigerator” pre-cooling method is suitable for advance preparation, especially for Kobler (three-piece) shakers that are prone to freezing. Place the metal body of the Kobler shaker in the refrigerator 10-15 minutes in advance (Note: not the freezer! Otherwise the glass will stick or even break).
If you are using the glass part of a Boston shaker, you can fill it with ice water beforehand and let it sit.
Result: It stabilizes and evenly lowers the temperature of the glass, avoiding drastic temperature differences after adding ice, and effectively prevents the Kobler shaker from “freezing” and becoming impossible to open due to metal contraction during shaking.
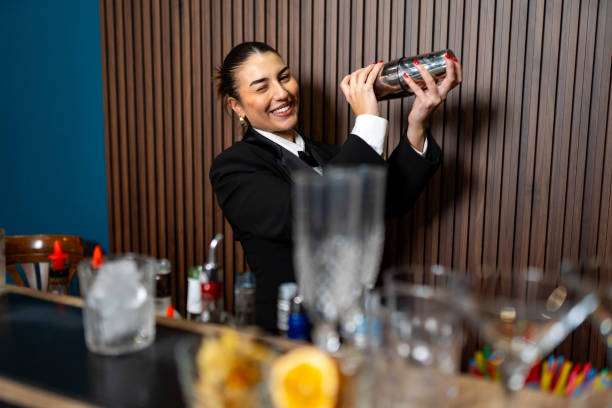
Final Verification: Three Signs of Successful Pre-cooling
How do you know if your cocktail shaker is ready? It’s simple; just look for these three signs:
External frost: The outside of the cup is covered with a noticeable layer of condensation or frost.
Completely drain: Before adding the wine, you must ensure that the ice water used for pre-cooling is completely drained, with not a single drop remaining. Any residual water will compromise your precise control over the dilution.
Ice quality: The ice you use for pre-cooling and mixing must be large and solid to keep the melting rate low.
Summary and Reflection:
Pre-chilling the cocktail shaker for a seemingly insignificant 10 seconds is the dividing line between professional bartenders and amateurs. It ensures your cocktail is cooled at the optimal rate from the start, making the most of your ice and ultimately resulting in a silky smooth, flavorful, and perfectly diluted cocktail.
Now, put these chilling techniques into practice! You’ll soon find that your cocktails will experience a revolutionary leap in flavor.
What methods do you usually use to pre-chill your tools? Have you ever tried chilling your cocktail glasses in advance? Share your experiences in the comments!