
If you’re new to bartending, you might encounter various “minor mishaps”: spilled drinks halfway through shaking, loose lids, or cocktails with too much foam or a thin texture. These problems don’t necessarily indicate a lack of skill; they’re just common “shaking phase confusion” that most people experience. This article will delve into the three most common cocktail shaker issues—leaking, bubbles, and over-shaking—and provide practical solutions, allowing you to control the rhythm and texture of your shake like a professional bartender.
Why does my cocktail shaker leak?
Common causes:
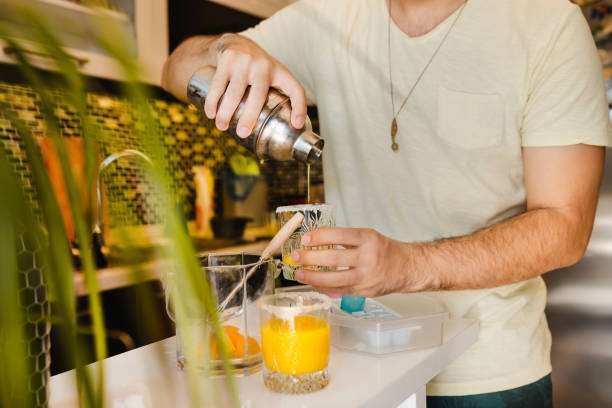
If the three-piece shaker (with built-in filter) is not properly sealed or is assembled incorrectly, it is prone to leakage when shaken if the lid is not aligned or the rubber seal is worn out.
The liquid level for a cocktail shaker is 2/3 of its volume. Exceeding this amount results in insufficient air space, causing excessive pressure during shaking and forcing the liquid out.
Temperature differences can cause pressure changes. When a large amount of ice is used, the pressure inside the glass increases, which may cause instantaneous leakage of wine.
Before shaking the liquor, make sure the cap is screwed on tightly and aligned.
Leave adequate space to allow air and liquid to mix together;
Replace worn-out seals regularly or check for deformation of the interface;
Before use, gently shake the bottle to test for leaks, then proceed with the actual shaking.
Before shaking the drink, gently tap the cap to check for a tight seal; this technique is commonly used by professional bartenders.
Why are there so many bubbles in the cocktail after shaking?
Cause analysis:
Excessive shaking or prolonged shaking can cause excessive air to enter the liquid, resulting in a thick foam layer and a rough texture.
If the ice melts too quickly, or if the ice cubes are too small or too fragmented, the rapid melting will dilute the liquid and create too much air mixture.
The shaking method for protein-based and non-protein-based cocktails does not distinguish between them. Protein-based cocktails (such as whiskey sour) require two steps: “dry shaking” and “wet shaking,” while non-protein-based cocktails should be shaken with controlled intensity to keep them clear.
The shaking rhythm should be controlled between 10 and 15 seconds, and the shaking should be fast, smooth, and not violent.
Use large blocks of ice (not crushed ice) to maintain a low temperature while reducing air bubbles;
For wines containing protein, first dry shake (without ice), then wet shake (with ice) to create fine foam;
Filter and pour out immediately after shaking to prevent foam from spreading further in the cup.
Friendly reminder: If there is too much foam, you can use a fine strainer to help pour it out or gently tap the rim of the cup to help release the bubbles.
What is excessive shaking of a cocktail shaker?
Characteristics:
The cocktail has become pale in color and tastes bland.
The texture was severely watery, and the aroma was masked by the ice water.
The wine’s complex structure has disappeared, and the balance between sweet and sour is unbalanced.
reason:
Over-shaking is most common among beginners or those who shake too vigorously.
Shaking for too long (more than 20 seconds) or too violently will cause a large amount of ice to melt and the temperature to drop rapidly, resulting in the drink losing its original flavor profile.
Correction method:
The cocktail shaker should be kept in the vigorous shaking range of 10-15 seconds.
When you feel frost forming on the outside of the cocktail shaker, it means the temperature is right.
Avoid repeated shaking or pausing before shaking again;
For strongly flavored cocktails, reduce the number of times you shake them to maintain their structure.
Professional advice: Practice the “rhythmic shaking method”—making the movements regular, smooth, and rhythmic can significantly reduce the risk of excessive shaking.
Comprehensive tips on how to prevent these problems with a cocktail shaker
Before shaking your cocktail shaker, check for a tight seal: ensure the lid is straight and the connection is clean.
Control the ice ratio: The ideal ratio is “1/3 ice + 2/3 liquid” to avoid over-diluting.
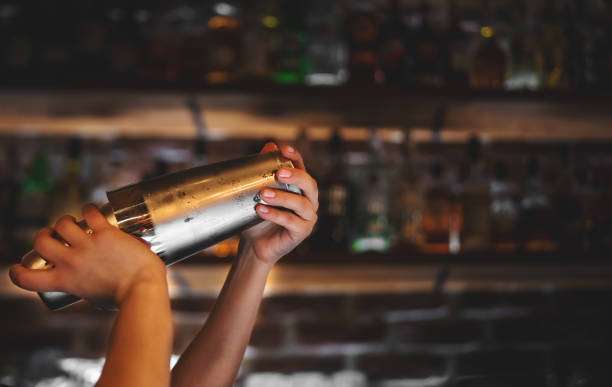
Maintain the correct grip: hold the two ends in the middle to ensure even force distribution.
Appropriate rhythm and duration: Shake at a fast pace for 10-15 seconds, controlling the rhythm to the point where you can hear the crisp sound of ice cubes colliding.
Note the action after shaking: Filter immediately after shaking to avoid secondary dilution.
Additional suggestion: For beginners, you can practice with water to simulate the process—this will help you get a feel for the rhythm and also allow you to observe for leaks or abnormal foaming.
Frequently Asked Questions
Q1: Why does the lid always fly off when I shake
my cocktail shaker? A: The lid is not aligned properly, or the pressure is too high. Make sure to release some air before shaking and then seal it tightly.
Q2: Do all cocktails need to be shaken?
A: No. Cocktails with high transparency are mostly stirred; only creamy or fruit-containing cocktails are suitable for shaking.
Q3: Can I use a plastic shaker glass?
A: Yes, but plastic conducts heat slowly, which affects cooling efficiency, so long-term use is not recommended.
Q4: Why is the sound not crisp when shaking the drink?
A: The ice is too small, or there is too much liquid, resulting in insufficient space for the ice to collide.
Conclusion
Mastering the cocktail shaker is like mastering the art of rhythm.
Controlling the seal, rhythm, and intensity not only makes your cocktails more refined but also elevates the professionalism of the entire bartending experience.
Next time you pick up a shaker, try to feel the rhythm of the “ice and liquor dancing”—that’s the true charm of bartending.